1. Ships ? I like the look of sailing ships but why would I want a medieval ship? I can´t think of any Scenarios I can put one into.
2. The size of it. I´m more used to quick and small Projects. Could it hold my interest Long enough?
So why build it at all?
1. It was there. It´s been sitting on the shelf for years taunting me.
2. I´d got into a modelling Doldrum (wordplay intended) Nothing painted for weeks so decided to go for something that was in line with my interest but way more complicated than I´m used to. I ignored the "what Scenario would it fit to?" and dived in (another dreadfull pun?). Either it would get me back to actually painting anything or it wouldn´t. It worked. During the build I painted the RedBox Crossbowmen who´d been sitting on the Workspace, based painted but gathering dust.


The Build
EEEEEEK!!! There´s loads of it and it´s feckin huge!!! A veritable sea (pun intended) of plastic!!Way bigger than anything I´ve tackled (pun intended) so far.
After all the time spent in the box the hull appeared to be a bit out of line. In the instructions (added at the end of the post) it says add a strengthening part (G3) but I left this until the ends had stuck.


I´m not sure how the ropes would have been attached to the capstan, the instructions are vague showing only one anchor rope being attached, so the solution, wether it´s correct or not, is mine.


The sail. The canvas area was a doddle to paint, masking tape to get the lines, cross cut from masking tape but it wasn´t all plain sailing (another pun ?) The ropes and the spar were fiddly. Getting the painted ropes to match to the thread took a bit of Trial and error. It looks (both in the pics and real life) close enough so will have to do.

I made the ropes using darning thread. The thread was too thick but had 6 Strands which, after cutting a length I divided into into two lots each with three Strands. This was then run over the top of a prittstick two or three times, twisting it as I went. After 1/2 an hour the strands had fixed together but the thread was still pliable..an earlier attempt using PVA made the thread stiff.

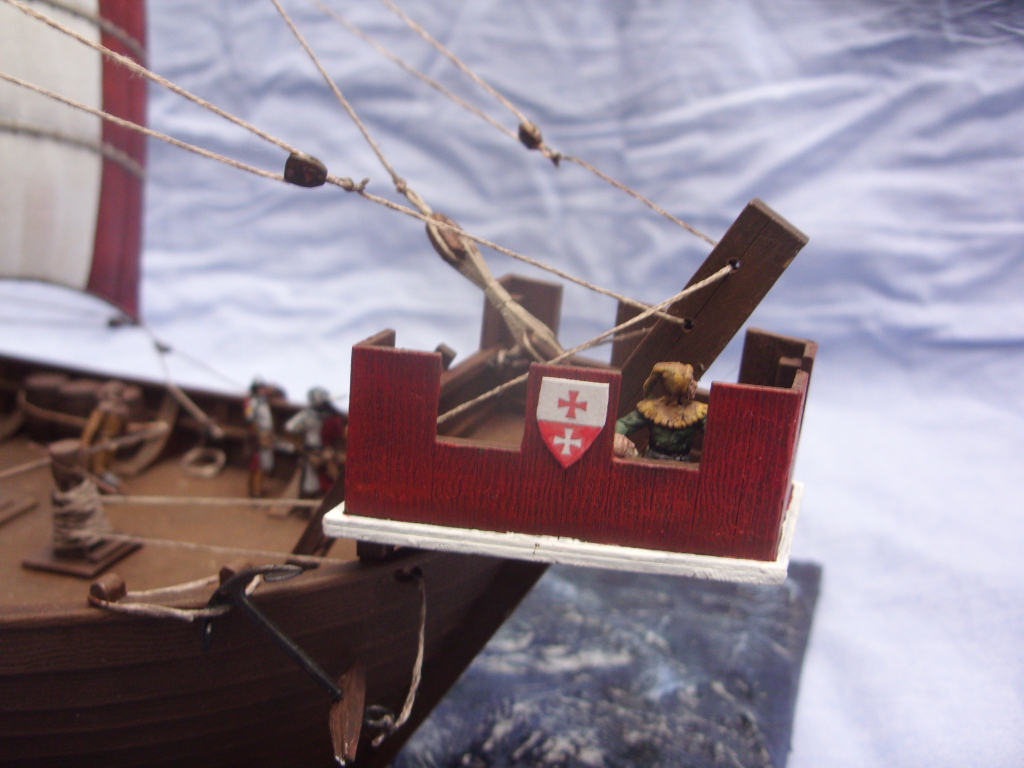
Well, most of the Crew..a couple more were added and I decided against one of them in the pic. A mix of Italeri, Zvezda, Valdemar, Strelets and Orion.


At the start of the build I was nervous as to wether I could get a half decent finish..the same goes for the basing but worse as this is a completely new Thing for me.
I pondered what to use for the base...something strong, not too thick and not prone to warping. Plexi glass. Ok, the Surface needed Scratching up to give decent enough adhesion and time will tell if it holds but it´s a first go at it so....
Big blob of acrylic sealant in the middle, ship plopped on top. Plaster of paris added in Basic wave shapes........

Instructions
A bit blurry here and there, different light Settings and tipped on thier sides but someone may find them usefull.
 |
| Page 1 |
 |
| Page 2 |
 |
| Page 3 |
 |
| Page 4 |
 |
| Page 5 |
 |
| Page 6 |
 |
| Page 7 |
What did I learn ?
It takes time to build such a Thing. The instructions have to be ignored, following the stages as they are written would mean inacessable Areas that Need painting. Small parts Need glueing with Second glue if they are to hold.
Was it worth making ?
Yes...and I´ve gone and got me the Zvezda Crusader version to build 😊
Puns aside, that's a fecking beauty!
ReplyDeleteGreat build, wonderful looking ship and crew...Congrats!
ReplyDeleteLooks great! I wouldn't have a patience for project that big.
ReplyDeleteWell done!
ReplyDeleteCertainly a different project! It did come out looking great though. You did a lot of cool extra touches as well. 😀
ReplyDeletefantastic work. i like the colouring of the planks
ReplyDeletevery nice job, the boat and the sailors are very successful
ReplyDeleteGood job !!
ReplyDeleteWonderful work Paul
ReplyDeleteExcellent work!
ReplyDeletePaul that is awesome, you did a great job! I really look forward to seeing the next version. I am tempted one day to use one of these for 28mm as a smaller boat.
ReplyDeleteBlimey Paul, I think that would have put me off rather than inspire me to get back into painting but if it rocks your boat....
ReplyDeleteThe end result looks fantastic and love the crew.
Cheers,
Pat.
You did a great Job. A stunning amount of Details.
ReplyDelete