Monday, 6 June 2011

Medieval Hut ( How to )

Quick and easy...and cheap as mud :-)

Medieval hut or stoneage or fantasy or whatever
The Materials.....Green insulating foam, sharp blade, scissors, stapler, pins, woodglue and some paint and some thin card (the sort from a cereal packet is good. You also need a handbrush or a softbroom (not shown in picture)
Cut a strip of insulating foam across the lines. if the strip is cut along the lines it doesn´t bend easily..in fact it snaps. Using a biro score the brickwork pattern. Do not cut out the door at this point. Glue the whole thing to a base and hold in place with some pins. The join at the back will need pinning as well.
Here I have smeared some sand mixed with woodglue on the basing. Leave the whole thing to dry.
The roof. Mark a circle on some card, cut out and cut a line to the center. lap one side over the other to form a flat cone and fix in place with a staple.
Put the cone over the house and cut back (remove the bottom) as necessary so you end up with about 1cm of overhang all the way around. At this point you can cut the door out. If you do this earlier, it creates a weak point in the wall which almost immediately will break when you start to bend the wall into shape.
Then I paint everything in dark brown. if a door is going to be added you don´t have to paint the floor inside. If the doorway is left open and you don´t paint the floor it looks a bit odd, as if  the owners are burning logs that produce a fluorescent green glow. Either that or witches have set up house.
Shade, highlight or whatever. It´s a good idea to paint the roof as in the pic. If left just dark brown it can show up through the thatch ...Oh yeh...glue the roof on!! :-D
Cut bundles of bristles off the handbrush / broom. These should be about 3-4 cms long. Smear some wood glue on the roof and then dip one end of the bristle bundle into the glue.
Attach  the bundle to the roof, spreeading it  flat. Keep going around until one layer is complete, then add another overlapping layer and so on.
Let the whole thing dry..trim the thatch to tidy it up a bit..add flock or whatever....finished.

Friday, 3 June 2011

Wargaming bases

I have based all my bods on single bases made using discs cut out of Ikea place matts. This was mainly because I wanted to be able to mix and match them  as I wanted and I didn´t intend to have so many for wargaming, just a few for skirmish type fights.
The numbers have grown though and as I´ve recently started making a Burgundian army for Impetus rules I thought I should base all the others for the same rules..but this would have meant rebasing a couple of hundred bods and nags so I came up with this;
The materials, sand, thin wooden sheet,  underfloor insulation sheeting and wood glue
Cut holes in the insulationfoam, glue to the woodenbase, this one will be for a cavalry base.
Smear woodglue over the top surface of the foam, turn upsidedown and push into the sand.
After drying, paint and decorate
Airfix Sherrif of Nottinghams cavalry
Infantry bases with Zvezda, Italeri, Revell and  Airfix bods
To create a defensive position , square or whatever, the position of the bods can be altered :-D

Wednesday, 1 June 2011

Medieval Village (macro shots)

But first,  the church on it´s new perch. This I´ve made so I can re-use it..maybe put a manor house, small fort etc on it..
Especially for Paul from the Man cave Blog.....how the lighting is done :-D
This is one of those kitchen lights for under cupboards etc, you push the middle and the LED lights come on, a pack of 3 for 4.99€  :-D
Now the Macro shots
Hello to Bob1302 and David Marshall...thanks for following :-D

Tuesday, 31 May 2011

Medieval Church and graveyard (1/72nd)

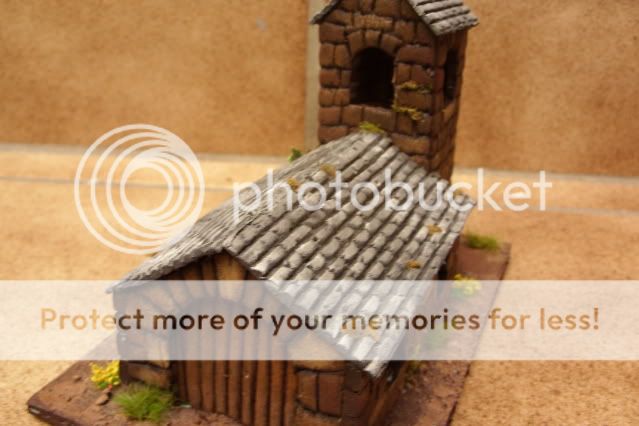
"More tea vicar?" I got the church and graveyard finished yesterday..:-D
Graveyard with charnelhouse /chapel

A little corner of the graveyard
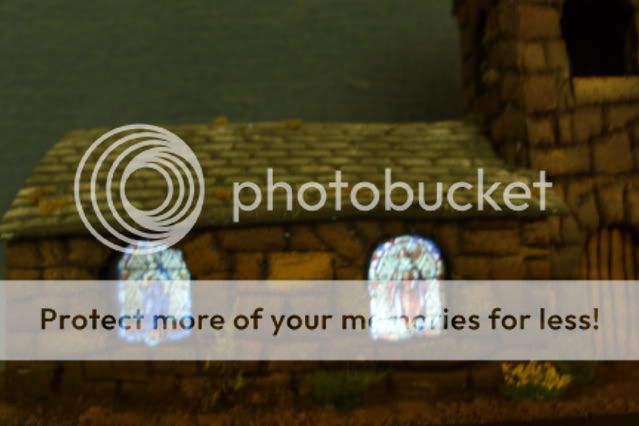
The windows I got from the web..from a site called Freewareme, re-sized and printed them out....a hole underneath and a small bulb...and it´s evening mass! :-D

Monday, 30 May 2011

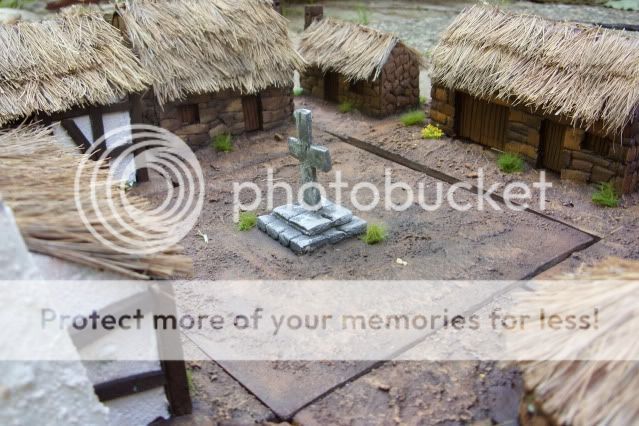
Medieval Village (1/72nd)

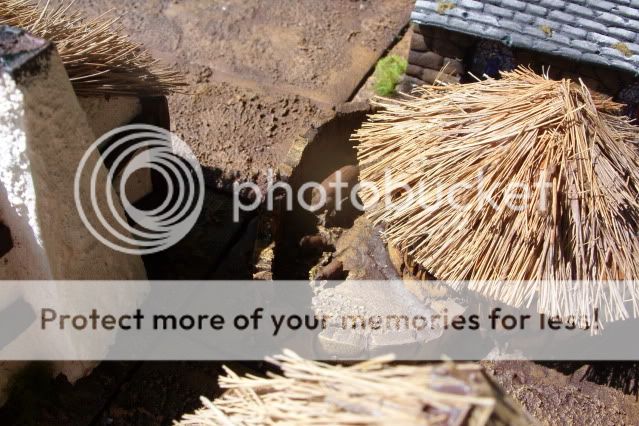
Same construction method as the Roman Town, the only real change is with the thatched roofs. These are done by glueing clumps of Handbrush bristles onto  cardboard.
This time I´ve given a bit more thought to the basing. I´ve made the bases so that each section can be rearranged to give a different layout when needed.
The "decoration isn´t finished, bushes , trees, a bit more grass and a few animals will be added.
Random arrangment. The two round huts (pig keeper on the right) are re-used from this dio...NO TAXES!!
View from "pig keepers" across the square, of  the pub
Set up in a  "the injuns are coming!!"  pattern
Some street pieces, a  church and graveyard with charnel house are in construction

Hello to Wilson Edward Toy Soldiers. On his blog,Wilson Eward Toy Soldiers, he shows a grand collection of 54mm Bods and his other Blog, Land of the Lead, deals with all aspects of bod collecting...with some very clever photos..
Hello to Anubis 88...now this is where it gets a bit confusing because yesterday I saw that Yarik from Yarik Miniatures blog, announced that his friend had set up a blog...called Anubis Miniatures. but he has an Avatar, and Anubis 88, hasn´t. So either you are both one and the same or......different,  which would be a big coincidence :-D Anyway...thanks to Anubis 88 for following and look at Anub
Publish Post
is´s excellent painting on his blog...Anubis Miniatures.
I´d like also to give a shout for Irqan´s blog, Plastic Zombie. He´s been about on the net for a while but has just set up his blog and will be using plastic bods for Zombie gaming...looks fun already :-D

Sunday, 29 May 2011

Roman Town (how to)

This is how I created the Roman Town,  Nothing fancy or complicated, as you will see :-D
The following building took about 3/4 of an hour (taking out drying times for glue and paint)
Taking a bit more care..it would probably have taken an hour, but this made was for the article and will be re-used for a medieval house later.
How you build them is only limited by your imagination. The bigger and more complicated they are, they will obviously need a bit more planning, but after a couple of buildings,  it becomes second nature.
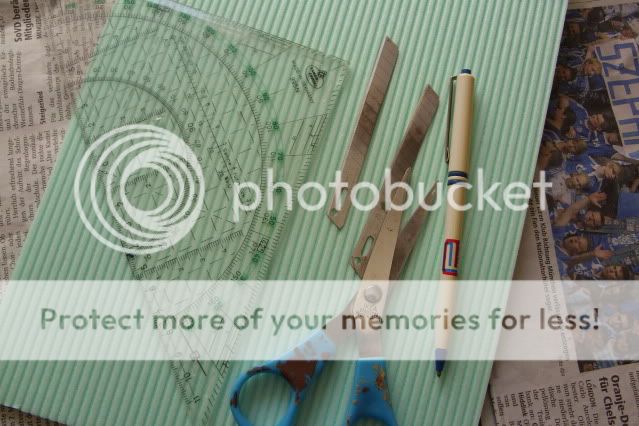
The tools and materials. Scissors, Biro, sharp blade, setsquare, wood glue and pins (both not in pic) and some polystyrene 4mm floor insulating sheets
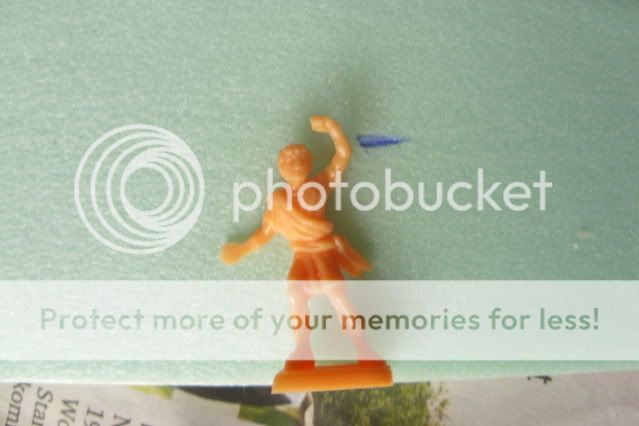
Decide how long, wide and tall (single, two storey etc) the building will be. When you´ve cut the walls, use a bod to mark where the top of the doors will come. (obviously the bod can be any scale) I always mark a bit lower than the head due to "cutting creep" ie;, the cut out doors always seem to end up bigger than marked.  Take care to make sure that the pre-scored lines on the insulating sheet run horizontally along any long lenths of wall/roof to help give them strength..
Cut out the doors. This one will be a shop with a house attached. The doors have already got a bit bigger than intended..
The Gable ends can now be cut using the set square.
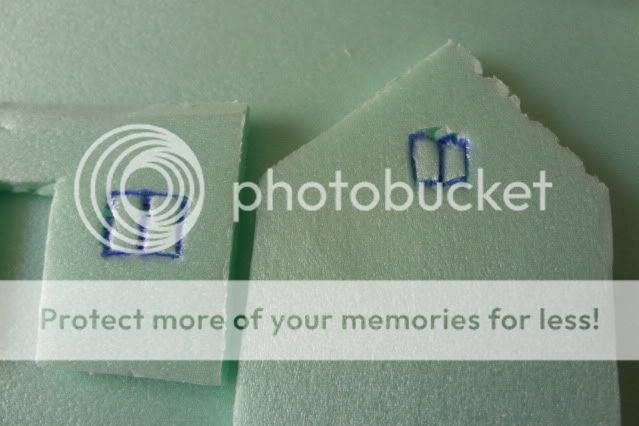
Add windows where you want them. These don´t have to be marked as here, you can cut the holes out and add windows, but after doing this a couple of times, I gave up in favour of the easy way.
Add glue along any touching sides and fit the walls together, using pins to hold the pieces in place as you go.     Maximus is measuring up for the wallpare
On all my buildings I add a central wall to support the roof.  This should have the top end cut to the same angle as the gable walls. Here, on the right of the building,  you can see I have added a dividing wall between the shop and house.
Measure up the roof plates. Make sure that they are about 1/2 a cm wider all around the bottom and sides of the building, don´t cut them flush with the walls. Cut top and bottom of the roof tile as shown. This is to make the join along the top of the roof easier, and the bottom to make it seem more like thin tiles.
Using the biro, simply score the tile pattern on the lined side of the insulation tile, making sure that you make cut a bit through on the sides and bottom to create an overhanging  tile effect. Try to pu both roof tiles back to back and make the first markings the same on each side, it looks a bit more like a capping tile when stuck together. After all the vertical markings have been made, run the biro along the horizontal lines to give definition.
Paint. It will probably take two coats to get the walls white. The roof  I painted with red and brown(50/50), then drybrushed with red. I painted the house and roof seperately (it´s easier) Don´t forget to paint the sides and underside of the roof where it overhangs. The windows I do with felt pens...:-D
This house was made at the same time by my 6 yr old daughter (pins are still in to hold the roof on) so if she can make one....;-D
Hello to Staz. Thanks for following. :-D

Saturday, 28 May 2011

Medieval Womenfolk

Without them there´s no medieval menfolk..:-D There isn´t many female bods about so it´s a case of having to make do, if you want a large group of them.
From Hat and Atlantic
From Imex...the hats cut back, ruffs and collars  trimmed away.
The baby looked cute before I went and painted it. (sorry, a bit blurred )
All from Valdemar.  Resin and metal
The goose is enyoying the ride but little does it know what lays in wait...."quick G.Gander!! Squeeze out a golden egg"