Monday, 18 June 2012

HaT Frontier Light Horse

They had a uniform but apparently they preffered to use civilian clobber, even on active service, the only recognisable thing showing that they belonged to the Light horse being a red band tied around thier hats. I´ve gone for a uniformed look, using the colours suggested on the HaT boxart.

3 horse poses, and 5 bod poses. The set does have a bit of flash that needs dealing with..not a lot but it´s very thin and due to the plastic being soft, it´s a paint to remove
The horses are the same as in the 17th lancer set. Most pics show the Light horse with very little equipment on the horses..even on HaT´s boxart it shows no bedroll.
Again..the bod with the revolver hasn´t got a holster...which is ok with the 17th Lancer set as the arm holding the revolver can be put on one of 3 bods..but here the arm is fixed..odd error.
Hello to MyMoon Blog...a blog about everything and allsortsHello to Jeff...blogger?

Friday, 15 June 2012

HaT British 17th Lancers

These are as near enough to painting napoleonics as I want to get...the belts etc..it near drove me mad. Enorm respect to those of you whose main interest is napoleonics...I wouldn´t have the patience.
I´ve mixed a bit of the box art with pics I found on the web...the cuffs for example. On the box art they have a white line around the white cuff, but most pics on the web show just a white cuff. The bag at the front. To try and get a cross over in colour between horse and rider I painted them brown..they should be blue but it ended up looking a bit too much.
The plastron fronted tunic, although the plastron was turned back to hide the white panel I liked the look of it.
As they are for my Khandibarian colonials, they will be rebranded the "Queens III Lancers" (Painting 17L on the bedding roll,  proved beyond me) it´s not really necessary to go the whole "historical mile".
Without any conversion the set delivers 8 bod variants...not bad at all :-D
Bugler and waiting lancer.
My second favourite pose from the set...Captn S.Piers. The head had to be  twisted slightly  to align it along his arm. One thing.....none of the bods has a revolver holster....and there is a bit of excess plastic that needs removing from the back of the revolver.
My favourite pose..lancer leaning forward to attack. One small problem..but I overlooked it so I could add a bit more colour..the pennons (lance flags) originally designed to upset enemy horses,  would have been rolled in a canvas bag during active service /  battle.
I would have liked a horse in full gallop but apart from a bit of extra plastic between the rear legs of one or two of the horses,  it´s a very nice set.

Wednesday, 13 June 2012

El Cid Andalusian Light Cavalry

The same horse poses as with the Andalusian Heavy cavalry but a bit smaller to imply more of a light cavalry type of horse.  More or less the same "small" problems as with the Heavy cavalry set, but this time I´ve overcome the problem of attaching the riders to the saddles. I cut off the top 1/3 of a pin. Using a pair of pliers, I stuck it about halfway in,  blunt side down into the middle of the saddle ..and pushed the rider onto the sharp bit ...
All 4 poses from the set.
Spear / javelins
Archers.
One rider from each of the Andalusian sets with a small conversion to Flag bearers. The wonderfull Moorish flags are created by Nevermore and are available for free at the Grimsby Wargames Society Blog.
The whole "swarm"  together..waiting to be based..well, when I´ve worked my way through the Almoravids and searched out possible conversions.Talking of which..HERE are some great ideas in 54mm.  

Hello to Jesse from Military History in Miniature Blog. Just started in the blogging world but has been painting bods etc for a while..his "Homage to George Orwell" dio is excellent.

Monday, 11 June 2012

El Cid Andalusian Heavy Cavalry

Not a bad set but not one of the best. For a start the horses are too thin and the riders legs are spread too wide, meaning they don´t sit properly in the saddle. A couple of the horse poses have a lot of extra plastic between the back legs meaning a bit of knifework.
The riders legs are leaning a bit to the short side.., the one with the lance, his legs look way too short.
Stil..a usefull set for building a Moorish army

I haven´t bothered with putting any Arabic writing on the shields yet.

Friday, 8 June 2012

Napoleonic French Engineers

A new set just released by Tom Winterkamp and only available from Toy´s & More and I´ve  had the pleasure of painting them. There doesn´t seem to be much info on these specialists so if I´ve got the colours wrong..the blue too dark or whatever then it´s not my fault...(Or I can blame the photos)
I found no pics / colourplates on the web but  a colour guide;
helmet,cuirass--steel
pants--sea blue
shirt sleeves--sea blue OR  gray
pouch,collar,boots-- black
collar trim--red  ( the only pic I found had the sleeves trim in red as well)
belt buckle - lantern--brass
logs--brown,
barrel, tool handles,straw--wood
sledge hammer,axe,hoe,shovel,pick axe,saw--steel
Ties,belt--leather

The set has a stockier look than the bods from  Strelets , but I reckon they could be easily mixed with each other.
Pickaxe Pierre
Benoit Beam holder
Sébastien Sandbag
Serge shovel

Wednesday, 6 June 2012

Petraria Arcatinus

Petraria Arcatinus  roughly translated means  Bow - powered Rock - thrower
There is little  historical evidence for its existence but various drawings from the medieval period do show bow powered siege engines and such a weapon would be a pretty obvious step in weapon design, combining a crossbow with a  torsion powered throwing arm type of catapult.. There is mention of King Louis of France having a Petraria nicknamed "Malvoisin" ( bad neighbour ) at the siege of Acre 1189 - 1191 but what it´s actual design was ?
This model was scratch built by Tommy and Tina, the builders of the Medieval Castle.


All I have done is paint it up a bit.

The Throwing arms are made from what looks like strips of Joghurt pots, put together as a leafspring which means the machine actually fires.

Monday, 4 June 2012

Large scale Test trebuchet.

In an attempt to learn a bit more, overcome any design faults etc  before I try to build a small scale working version ( and have a bit of fun) I´ve built a large scale working trebuchet.
I´ve learnt a couple of things. The counter weight. It needs to be quite heavy...my first attempt I filled it with stones like they would have, but it threw very slowly, so I re-filled it with lead. I could also have moved the counterweight further away from the fulcrum point, but as there is only a couple of cm´s between underside and the running board, especially when the counterweight swings back and forwards after firing,  this was impossible. The only solution to increase the distance of the counterweight along the arm would be to increase the height of the middle section..which is now too late.
Also..the range can be altered by lengthening or shortening the strings to the sling as does slightly altering the angle of the pin that the loose line is attached to. Bend it a slight bit more away from the direction of throw and it increases the release time..which alters the flight..making it flatter, less of a high arc.
Set up as it is at the moment,  it throws a 4-5 cm´ds wide stone 20-25 meters.
Not far considering it´s size, but this is due to the positioning of the fulcrum and the weight of the counterweight,
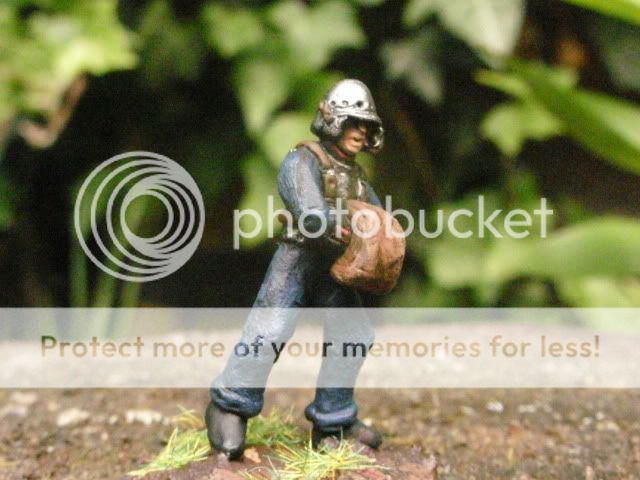
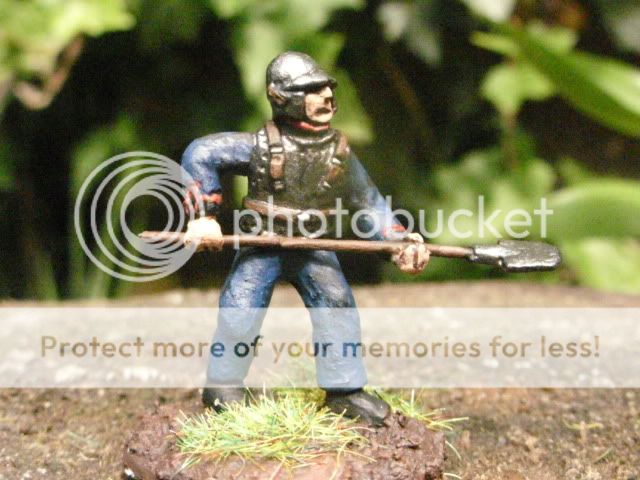
No claims to historical accuracy....it´s missing a lot of supports and the actual body length is way to short at the front. I also left any winding gear off..it just seemed (at the moment) impracticle.
The axles for the arm and the counter weight proved difficult. I used metal tubes inserted into the arm, then other slightly longer thinner tubes held in place with washers were pushed through them. The bolts were then inserted. This made sure that no wood was touching moving metal and decreased the friction, which would have slowed the firing action down. 
The trigger. I added this type of trigger, one using a pull cord after the one that was more historcally accurate, a pin that was knocked out, got me a whack on the ear from the arm releasing.
A couple of mini videos showing it in action


Hello to Marzio from Fog´s Soldiers. blog. In his own words " Fog' s Soldiers is a professional miniature painting service and a producer of high quality, handcrafted, scenery and model trains services."
Hello to Punkreaper from G+
Hello to Ralph Ashdown..I´ve seen your name mentioned on sean´s Blog..but no link from here?

Mike Whitaker has Just given a link to a site that works out the statistics of a trebuchet for you....
Virtual Trebuchet    Excellent..just what I was looking for. :-D

Friday, 1 June 2012

Medieval Castle

This quite incredible 1/72nd scale castle was scratchbuilt  some 15yrs ago by Tommy  and  Tina, who run an Online indian Clothes and accesories shop called Om - Lakshmi.
I now have the honour and pleasue of becoming the Guardian of this beautiful piece of construction.
All I have done is  clean it up, repair a couple of small pieces,  a dab of paint here and there, paint up the wooden beams on the timbered house parts, base and landscape it.(add the rocky outcrops)
It measures, 70cm´s long, 55 cm´s wide and to the top of the main tower, 40cm´s high.
The main Keep and the Guardhouse have had some weathering done to the brickwork. I may continue this at some point.
I really like the way it seems to be built in a "as needed" way..like parts have been added as time went by and the population / influence of the castle grew, just like in real life.
The ground work still need a bit of vegetation etc.
The store house which .................
..........has a removable roof!! There are 4 removable roofs in total..and all the buildings can be removed from the base....not just that but they all   can be lit up from inside.
All the tiles were individually cut out and glued on ! I keep trying to imagine how long this all took!!
Not a brilliant photo but the catwalk near the front gate is also completely hand made!!!
View from the storehouse to the guardhouse (the drawbrige works)
The lord and lady surveying thier new Home...are they pleased? You bet they  are!!!!!!
There are a lot of details that are only just visible but almost impossible to photgraph. For instance, the wall running up along the ramp from the guardhouse. It has the catwalk and under the catwalk there is a hollowed out area (where the window is) so crossbowmen can stand without being in the area of the ramp. The beams etc in the roofing...all hand made and   constructed from Matches!

Hello to Speedy from Soldiers of Honour blog  I´ve tried to add my blog to the followers list but it keeps coming up "website not available".  Shows up in the blog roll though (?)


Wednesday, 30 May 2012

Zvezda Trebuchet

Finally after a very long search I´ve obtained the Zvezda Trebuchet. I found it for sale at Kalfakis Model Hobbies in Athens..and I can only HIGHLY commend the service provided. Even as a first time customer, every one of my questions was answered,  after I put the wrong (Too high) price in I was E-mailed that I was going to pay too much and  the delivery was prompt. A big thankyou to Costas for the excellent service ....:-D 
He has another 5-6 Zvezda trebuchets for sale...so if you´re after one..be quick ;-D
All three together..Faith, Hope and Charity. From left to right, Miniart, Fredericus-rex and Zvezda


Hello to Jen and Ben from Jen & Ben´s Wargaming Figures blog. If only I could paint as well as they can!!!!!!!!!

Sunday, 27 May 2012

Palm Trees ( "scratch Built" )

Sir Henry Botherington Smyth is having a relaxing rest under the shade of a couple of palm trees. The well is re-cycled from the Order of the Holy Sepulchre of Jerusalem Dio.....
The palm trees..how to make them. A couple of weeks ago Michel from Germania Figuren visited and we discussed, among other things, Palm Trees. He told me that Erik Trauner makes his using the middles from Pinecones. Off  I went and got one and we both tried (without success) pulling the scales off with pliers etc. A few days ago I was again  thinking how to make palmtrees for the Khandibar set up and bingo!!!
What do you need ? A pair of scissors, some clear silicon, some plastic decoration leaves (the sort with a metal or plastic spine welded under the leaf, the ones used for roses seem to be the best) a Pine cone...AND!!!!!!...................
..........A Squirrel. One of the visitors to our garden...:-D

Squirrels like the seeds in pine cones and to get at them they strip the scales off. and then throw the core down. After just a quick look under a pine tree near our house I collected over 50 such "cores". The only thing the squirrel doesn´t do is remove the "tuft" of scales at the top, but as this can be easily snapped off, I´ll let them off.
The Plastic leaves. Simply cut down to the rough size wanted, and with scissors cut irregular strips all along the sides. When that´s done, turn the leaf over and remove the last 1/2 cm of the spine near the base of the leaf. This gives it a nice flat area for attaching. Bend the leaf to shape(the bending also spreads the fronds apart)....and using silicone, glue to the top of the pinecone core in an overlapping clockwise (anti-clockwise)  pattern.

If anyone is interested, Valdemar are looking for sponsors to help fund a set of Bods.

The concept:
It costs 50 euro to be part investor in the set, these money are used to help cover some of the development costs. What you get are that you help the range grow and you get 1 sample set from the first testshots, so you will get the figures way before anyone else.

How:
You sign of for 1 share (10 total) and when all ten are sold the project will begin. If the project are not completed you will get your money back
.
It will be a "brutal" battle set..so if your interested,  contact Jens on the Valdemar site